Brilliant Strategies Of Info About How To Fix A Vhs Tape

How To Fix A Damaged Vhs Tape - Ifixit Repair Guide
Vhs Tape Repair How-to Guide From The Experts | Everpresent

How To Repair A Video Tape, Vhs Guide | Dvd Your Memories

How To Fix A Damaged Vhs Tape - Ifixit Repair Guide
How Splice/repair A Broken Vhs Tape - Youtube

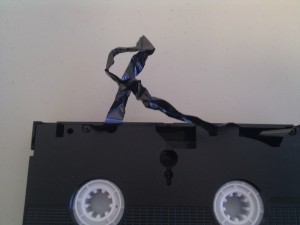
Fixing the tape is actually quite easy if you have patience and a steady hand.
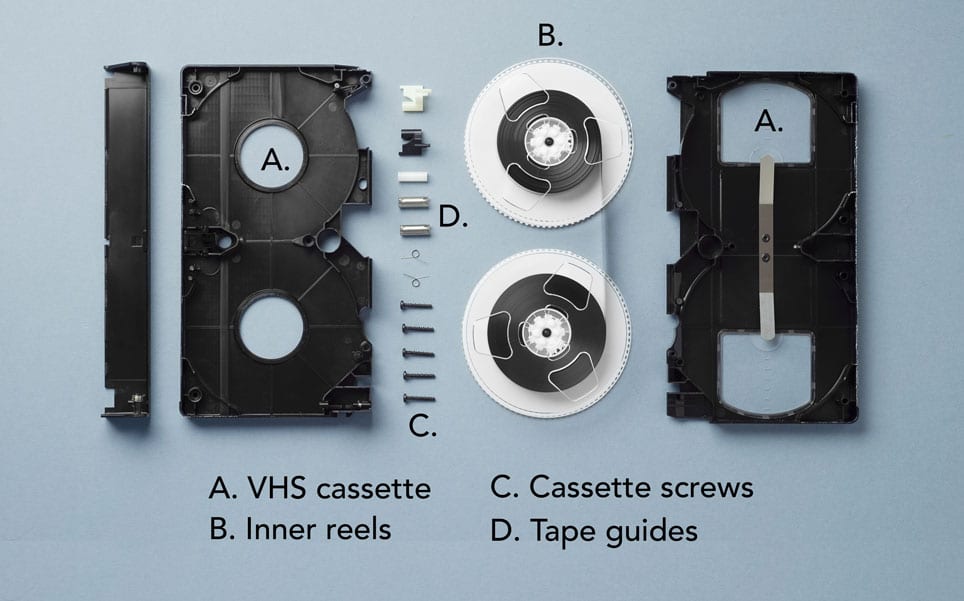
How to fix a vhs tape. For step by step instructions with photos, check out our blog post at: Remove the vhs tape from the vcr and insert a cleaning cassette into the it. There should be five separate screws.
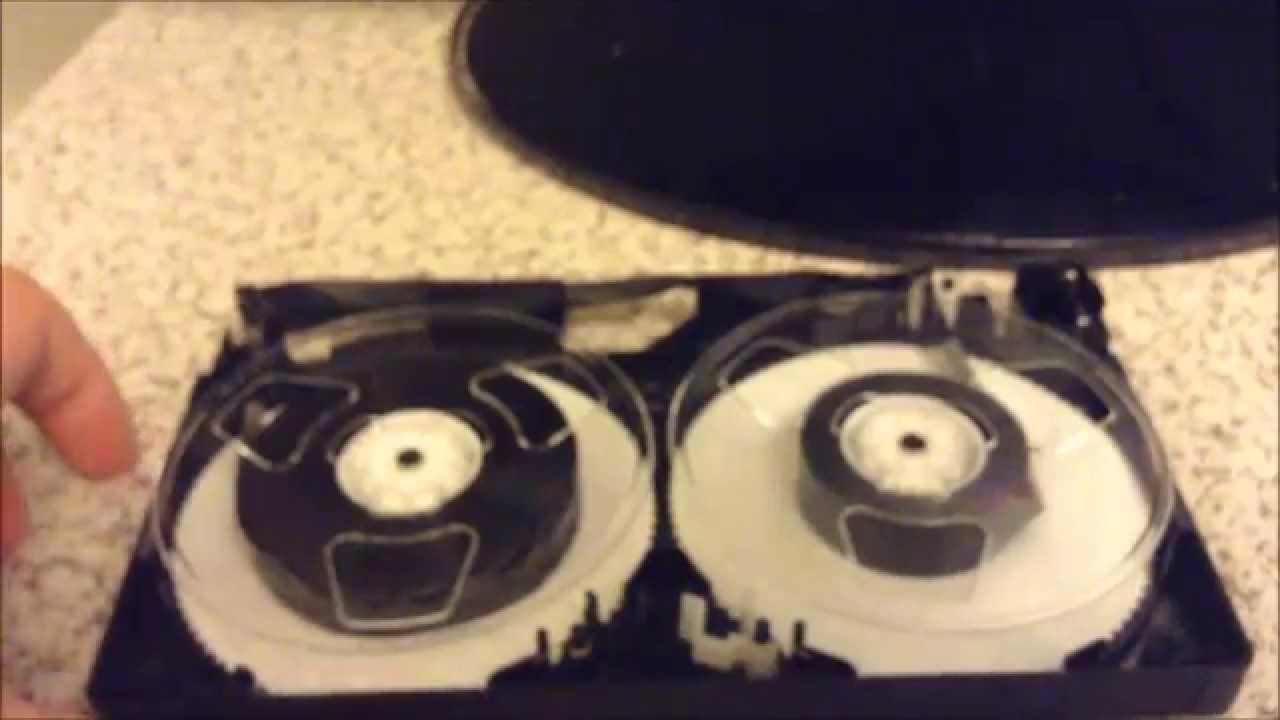
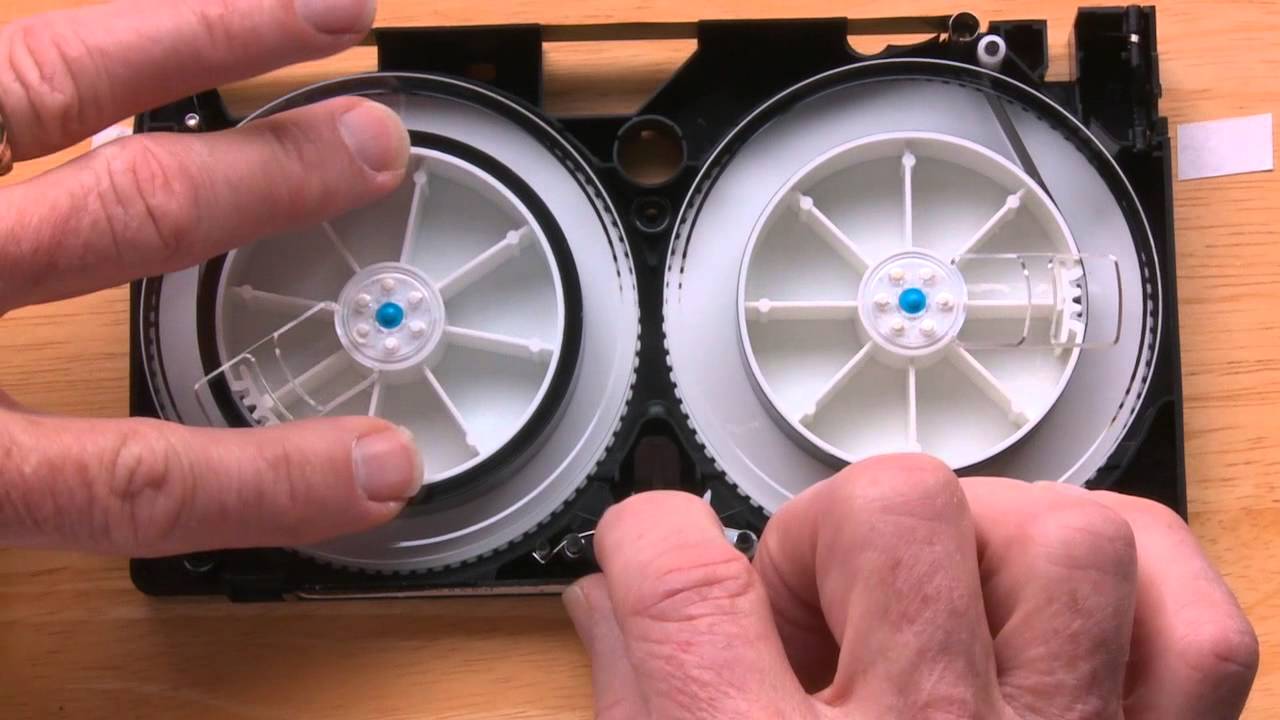
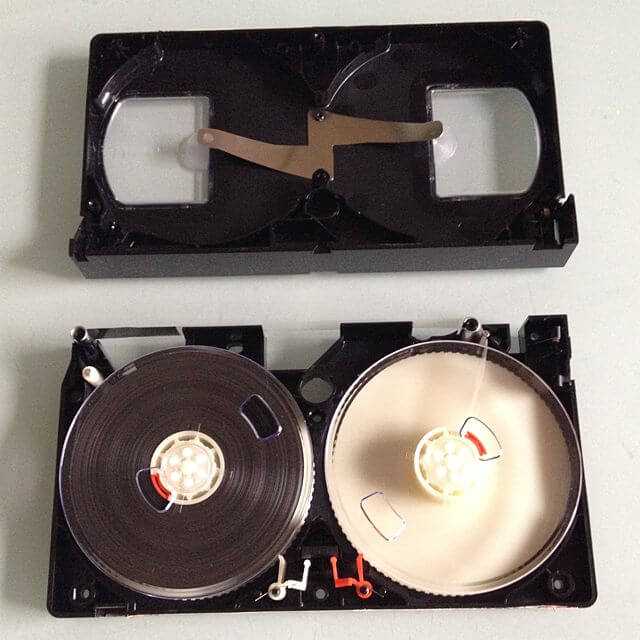
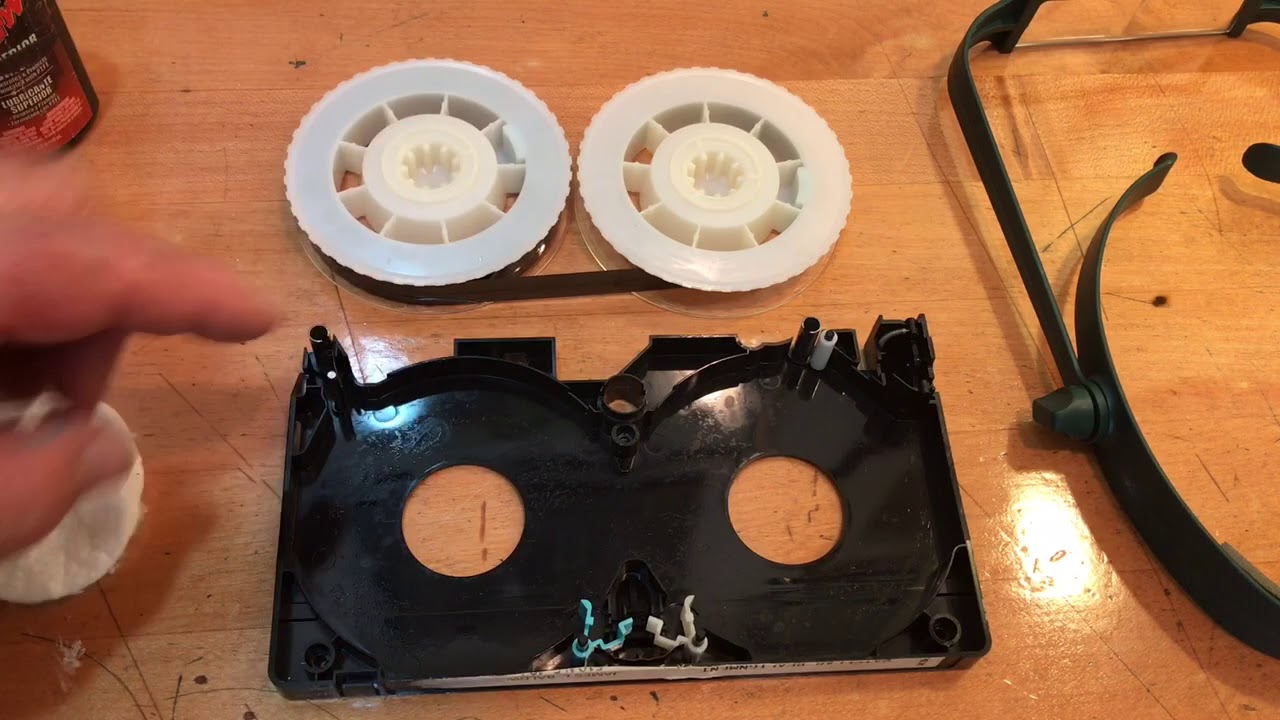
Take a look at the casing. Hold the front open, gently lifting the top of the cassette, being careful not to. This video shows how to take apart, clean, splice and reassemble a vhs video cassette and tape.
Your old vhs tape can become defective, not allowing the tape to rewind, fast forward, or even play. Notice how the videotape’s underside is tabbed in clockwise, but then the reel is wound counterclockwise (with the tape. This video will show you how to take the tape apart to r.
Fortunately, this is a relatively easy step as well. Use the tracking function on your vcr to try fixing the vhs tape. Begin the cleaning process by pressing “play.” the cleaning cycle typically no last longer than.
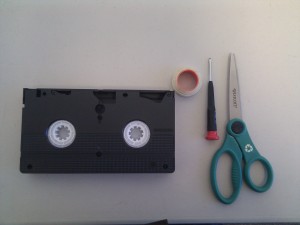
Cut a small strip of splicing tape (scotch tape can and will work, just know that it’s much thicker and harder to work with than splicing tape and not advised) now the trick is to stick both ends. To repair a vhs tape, you require splicing tape, a pair of scissors, and a flathead screwdriver. You may want to check with a professional tape repair service if you can rescue the tape.
With the other end of the tape adhered to the clean. Adjust tracking on your vcr. Aticipating a flood of memories and romance, you insert the vhs tape into the vcr, only to hear a sound that can only be described as “crunching.” you panic and yank the vhs tape out of the.
How to repair a vhs video tape. Moisten the space on the clean surface a little where you are going to make the splice to keep the other end of the tape from curling.
How To Fix Vhs Tapes That Squeak And Stick Won't Play - Youtube
How To Reattach The Snapped Lead On A 1/2" Vhs Magnetic Tape

How To Fix A Damaged Vhs Tape - Ifixit Repair Guide
Vhs Video Cassette And Tape Repair - Youtube

How To Disassemble / Re-assemble Fix Vhs Tape (easy!) - Youtube

How To Repair A Video Tape, Vhs Guide | Dvd Your Memories
How Can I Play A Vhs Tape With The Lid Off? - Videohelp Forum
How To Repair A Video Tape, Vhs Guide | Dvd Your Memories

How To Fix A Damaged Vhs Tape - Ifixit Repair Guide

How To Fix A Damaged Vhs Tape - Ifixit Repair Guide

How To Unwind A Vhs Tape | Dvd Your Memories

How To Repair A Video Tape, Vhs Guide | Dvd Your Memories
